|
|

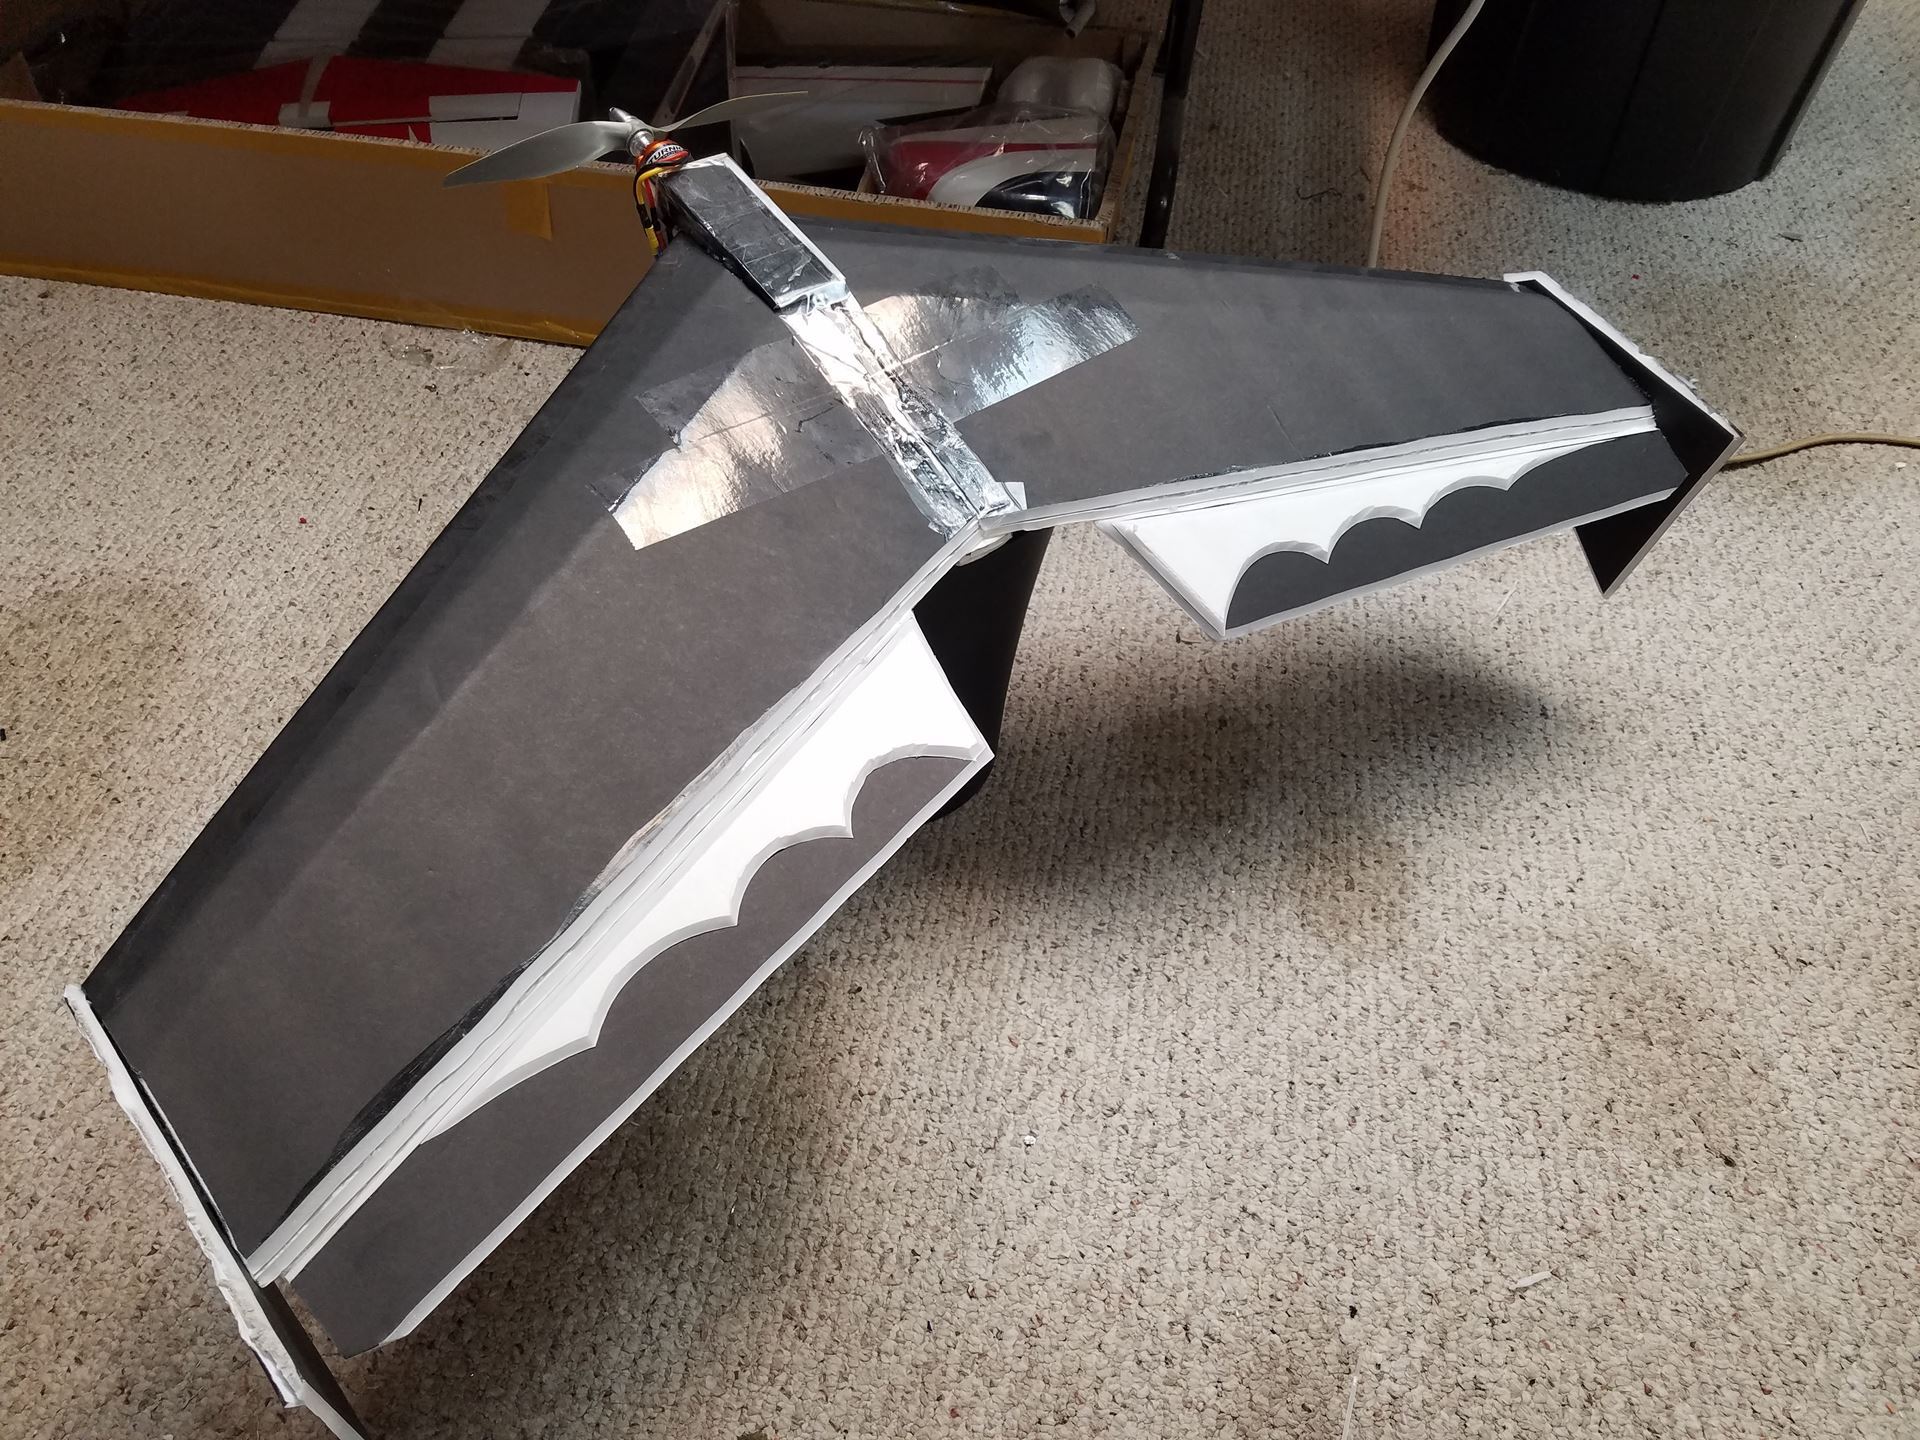
Had a blast flying the latest design last night. While 1.0 still flies great, 2.1 represents a lighter, more repeatable airframe that can handle the larger 3536/9 motor setup. Click the video link to see it fly. Click the pictures to enlarge.
FLIGHT VIDEO / 2.1 IMPROVEMENTS
 Click here to see the video shot by Jonathon of me flying the new 2.1 version design. The 2.0 to 2.1 changes are as follows: Click here to see the video shot by Jonathon of me flying the new 2.1 version design. The 2.0 to 2.1 changes are as follows:
- We cut the spars from what used to be the front of the ailevators to make the ailevators smaller. You'll see in the video that it flies just great with smaller ailevators on the new power setup.
- Motor box needs only be 5" long.
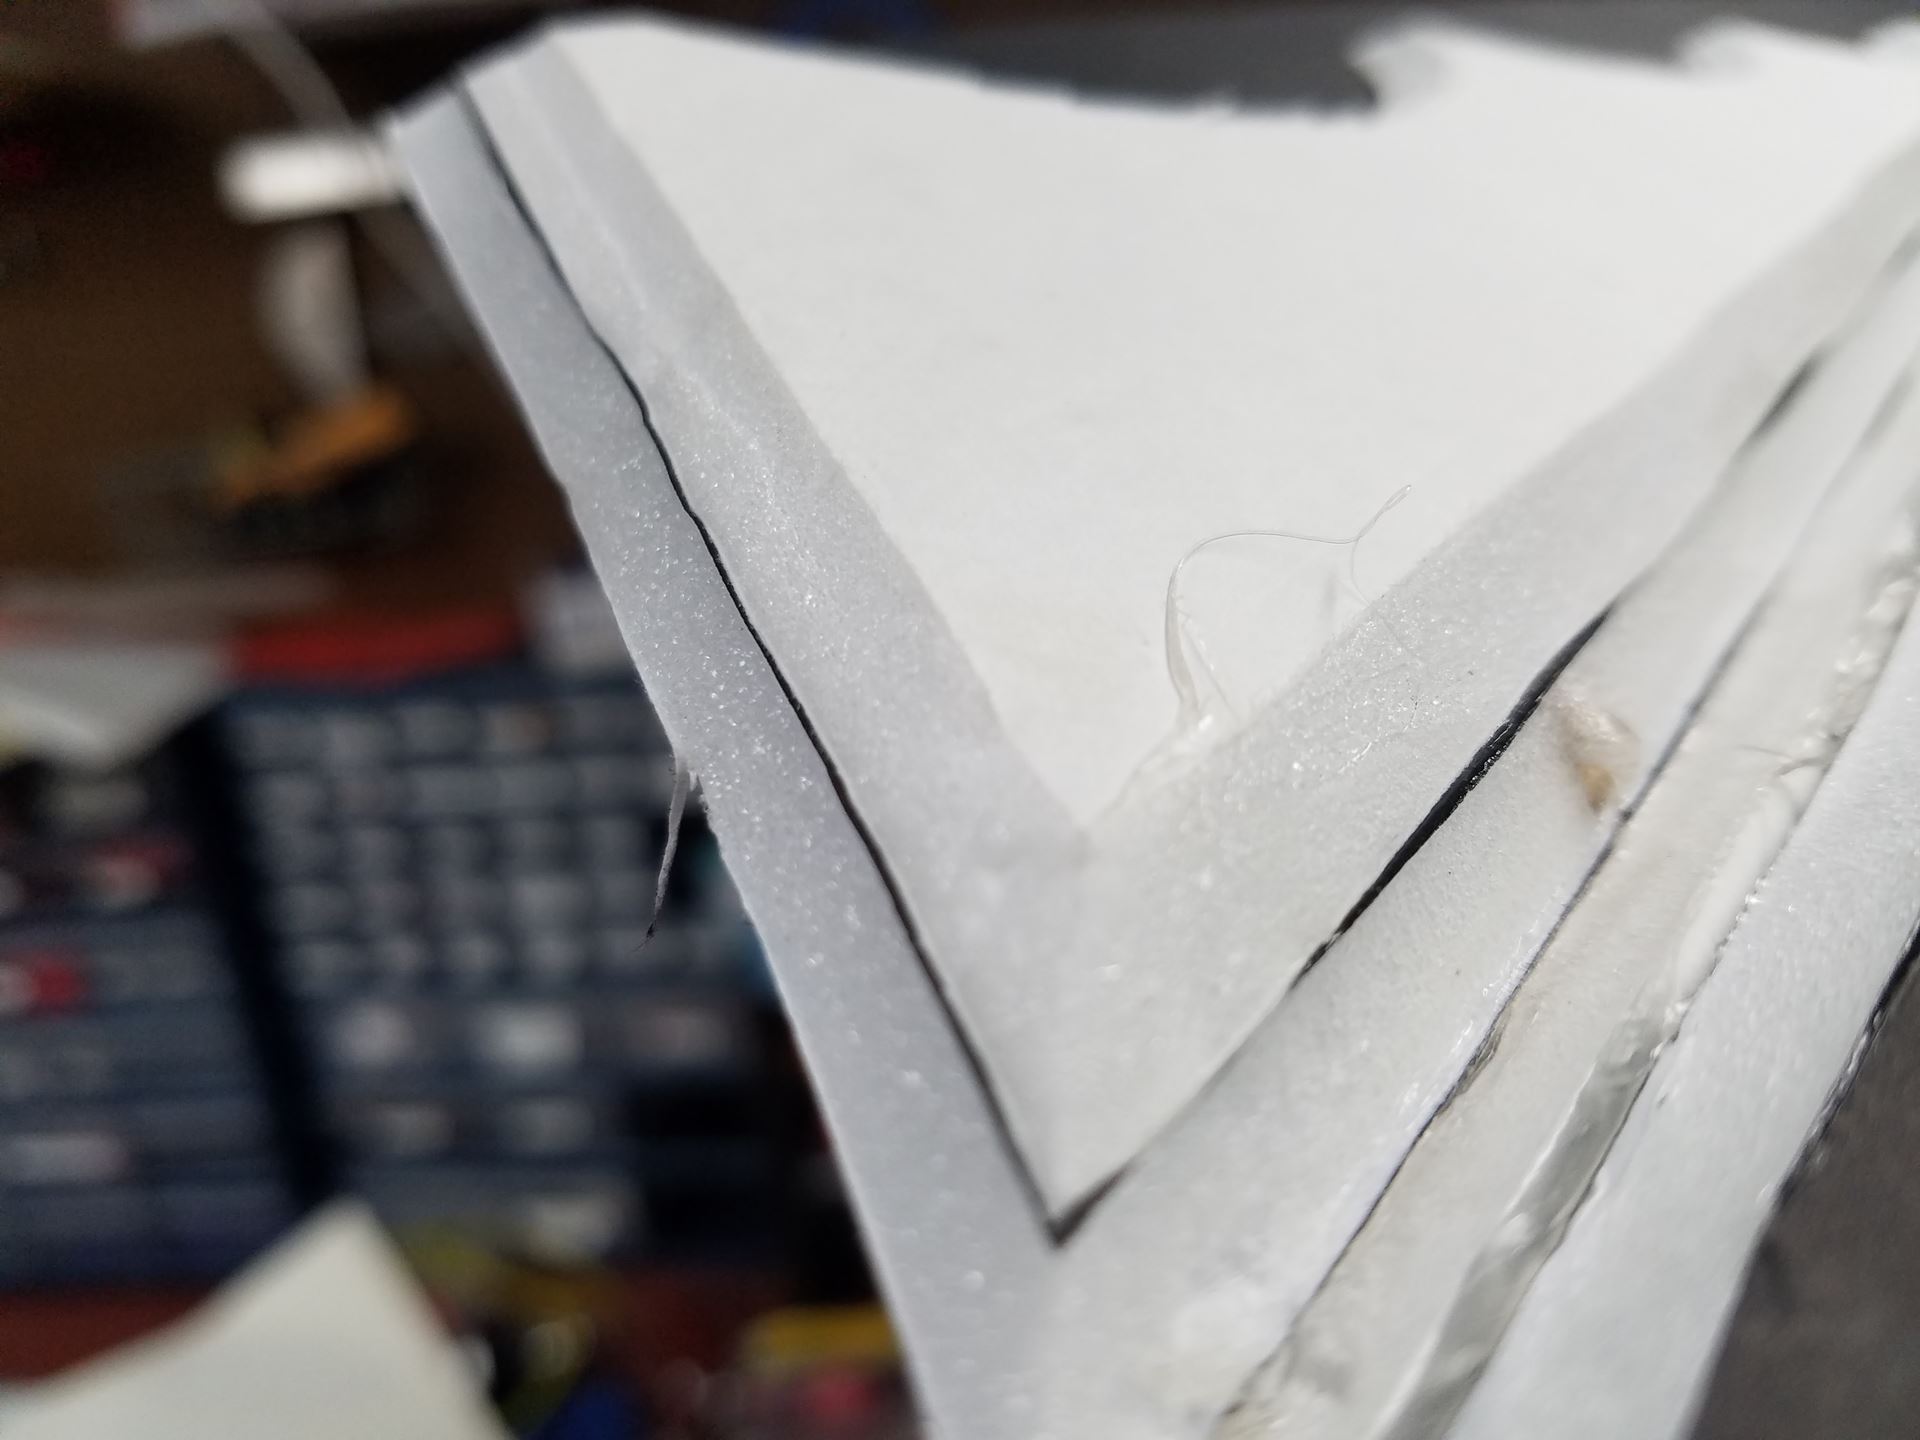
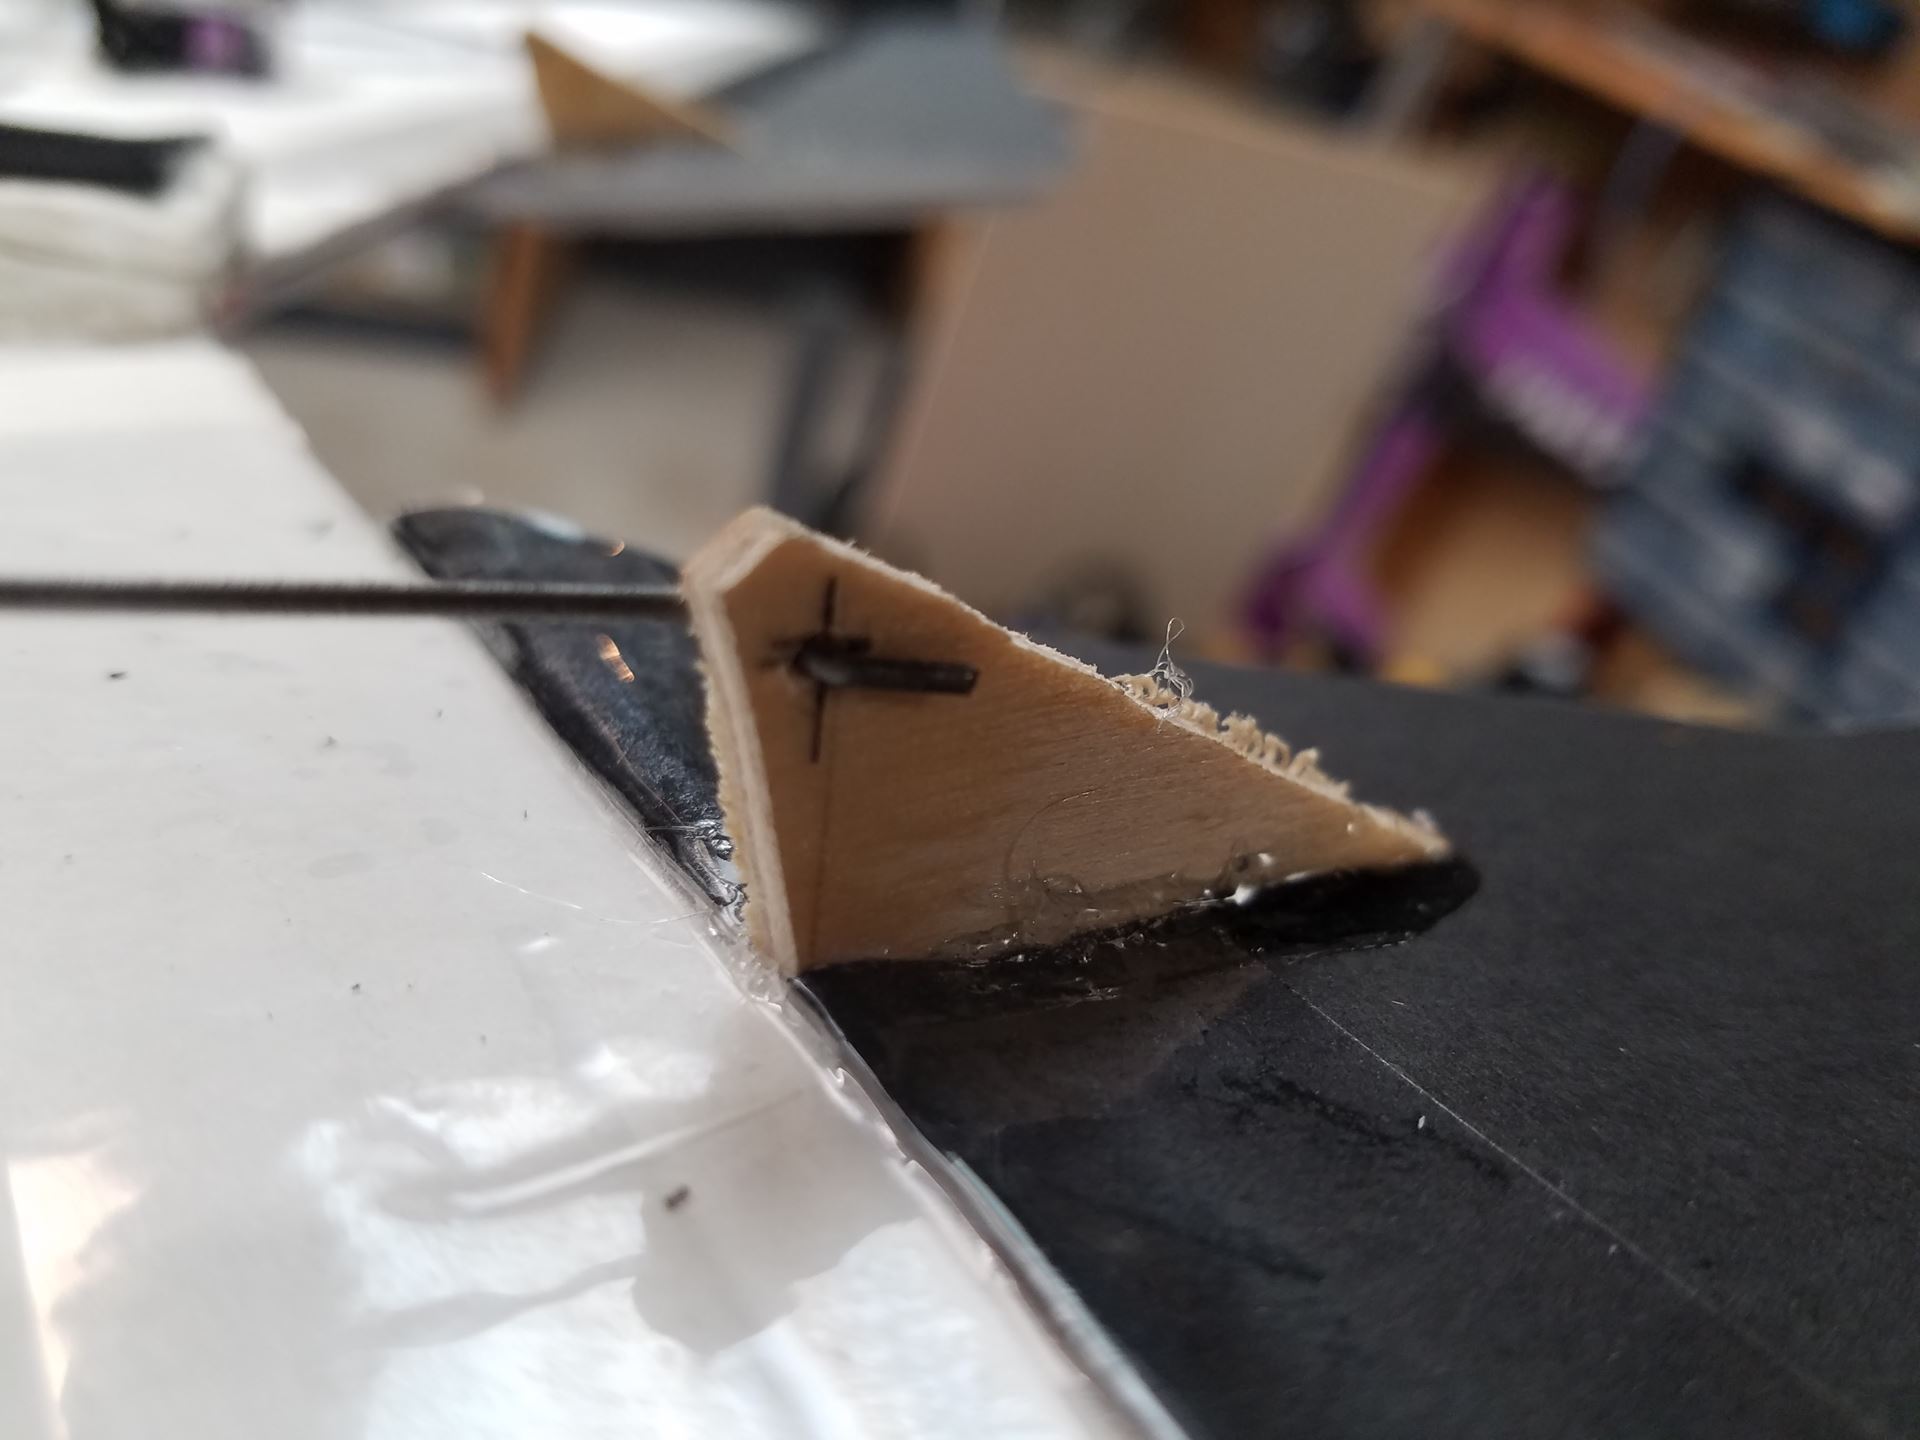 Using the longest arms that came with our "group buy" servos, I used 1" plywood control horns on the surface (hardened with thing CA). We previously had used 3/4" horns, but the throws were getting ridiculous with the new servos. Using the longest arms that came with our "group buy" servos, I used 1" plywood control horns on the surface (hardened with thing CA). We previously had used 3/4" horns, but the throws were getting ridiculous with the new servos.- Recommended: use the glue sparingly in the wing. A little goes a long way and adds weight fast. If you do it right, a small bead will be continuous and actually sort of "boil/bubble" as it's sitting on the paper.
- Optional (see pic below): we are doubling the ailevators under the horns to give us a little more rigidity. When doing this, or applying printed paper graphics, I'm using 3M 77 spray. Also optional, I'm beveling pretty much everything that's an exposed edge for cosmetic reasons using my beveling tool.
CG & SERVO SETUP
We also have important new information on setup:
- You'll want the CG 4-1/2" from the "V" at center at the rear of the wing. Fly it after you set it there and adjust by moving the battery. If you're using a lighter battery (2,200mAh), you'll probably need to extend the battery an inch or more past the "V" in the back, so bear that in mind when creating your battery platform.
- Low throws are great at 3/4" up and 3/4" down. You can play with a little differential if you like after testing whether rolls are axial. We found them to be near perfect. I like 20% expo at this level (-20% if you're flying Futaba).
- High throws are 1-1/2" up and down. This level gives you unbelievable roll rates and the ability to stall the wing and flip it around it's own axis. I use 50% expo here (-50% for Futaba). Both Jonathan and I were able to harrier/elevator the wing. Quite fun. This is probably where I'll fly combat, but I like to flip between low and high rates as needed, so we'll see.
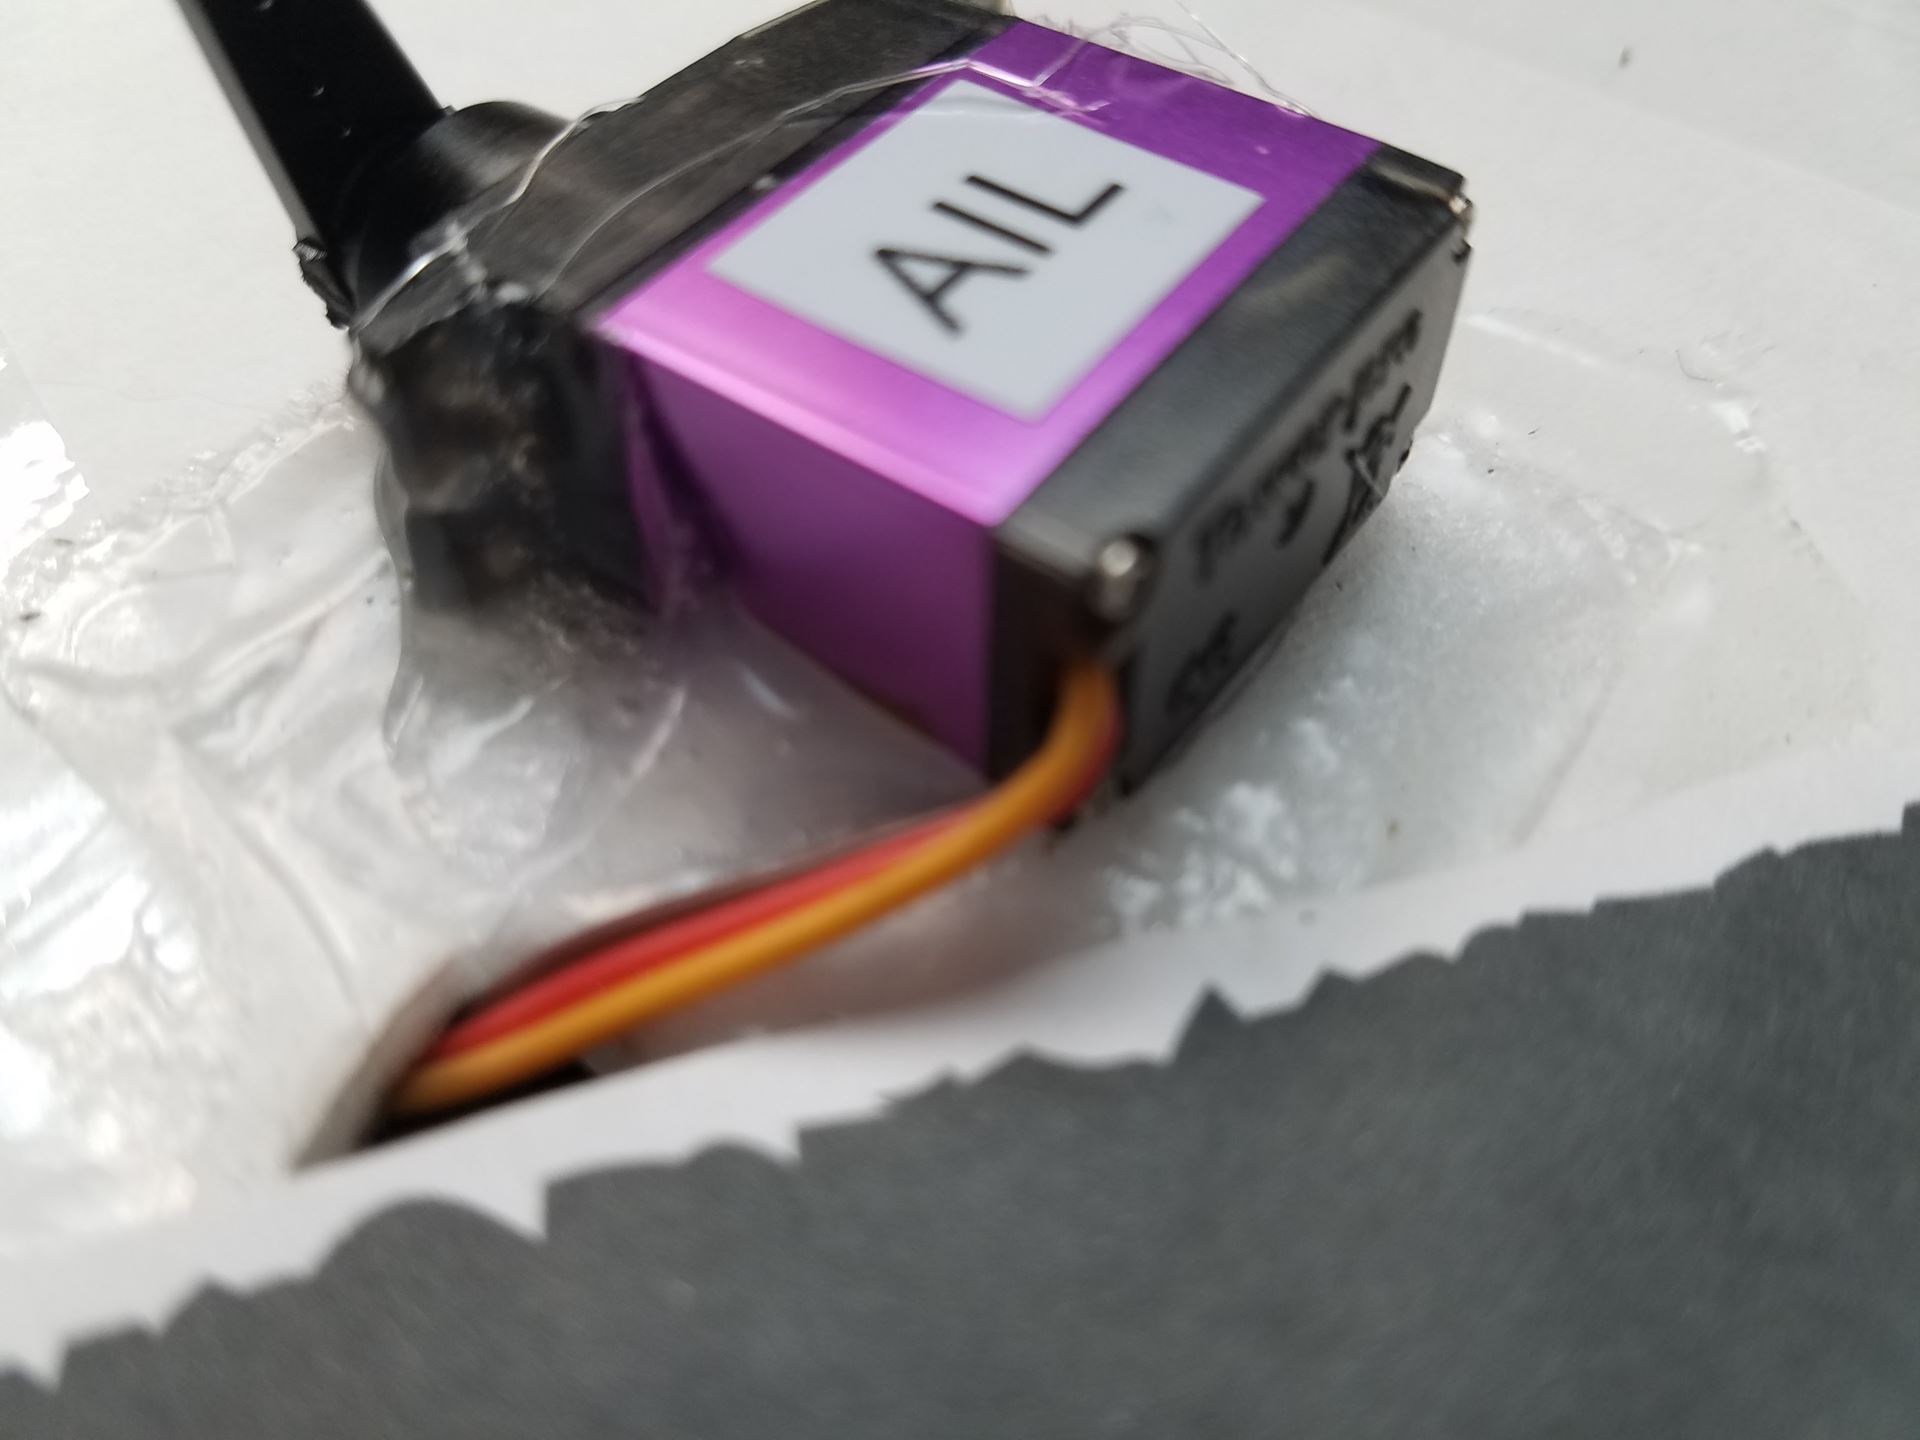 We like mounting the servos on their sides (see picture), with z-bends at both ends of our small-diameter music-wire pushrods. To do this, you want to : We like mounting the servos on their sides (see picture), with z-bends at both ends of our small-diameter music-wire pushrods. To do this, you want to :-
- Get a rough feel for servo travel and center before you start. Also, make sure servo travel is set right for a flying wing (up elevetor: both servos pull. down elevator: both servos push. Right aileron: right servo pulls, left pushes...). Don't bother getting started gluing the servos until you're sure this is all good.
- Get your radio set to zero trim, zero subtrim, 100% travel both ways (or slightly more if you like, but even both directions), and with servos as close to 90 degrees to the pushrods as possible.
- Use subtrim only to get the servo arms to 90 degrees to the pushrods. At this point, if you want to setup some differential, move the servo arms back toward the trailing edge one gear on the output shaft. That will give you more up than down. Or, you can leave it at 90 degrees and use your radio to mess with differential. You can also leave it out altogether.
- Plan on mounting your servos as far aft as possible to shorten the pushrods and give you some tail weight. Make your z-bends in the same plane (because the arm travel will be the same as the horn). Now you can temporarily attach the servo arms and connect them to the pushrods. Also connect the pushrods to the control horns.
- Identify the general area where the servo will be after finishing the above, and trace it lightly with a pencil.
- Move the servo out of the way, and cut out an oversized rectangle of paper, peeling off the paper and exposing the foam underneath.
- Squeegee hot glue across the foam square and over to the paper forming a "mounting square" of glue that overlaps the paper and is hot-bonded to the foam. Let that cool.
- Get your wing in position so you can see the control surfaces (looking straight down the back of the ailevators). With your radio on and configured, glue the servo to the now cooled foam square with more glue. As it's squishing out underneath the servo, use a foam board scrap to pull some of the glue up onto the servo mounts. While doing this, hold the servo in position with one had while making sure your ailevator is centered.
- Repeat for the other side, this time making sure your second ailevator is alighed with the first one. Your neutral should now be perfect.
- Now, set your throws on the radio so their identical. No need to set travel, yet. I like to assign elevator to a knob while doing this to ensure I'm not putting in a little aileron, given these are ailevators. I then move it back to the joystick when done.
- Once your neutral and throws are identical left and right, you can use dual rate setups to set travel. I still had a lot of travel at 100%, so I moved my high rates back to 80%. You may want to use longer than 1" control horns if you want a more docile flight.
FLYING 2.1
All-in-all, the flight characteristics are fantastic. It feels like it's on rails inverted or right-side-up, and climbs really, really fast. Unlimited vertical is an understatement. You can see all this in the video.
The low-cost APC-clone props are great, but they break easily, so land on the grass with nose up. If you don't get the nose up the prop doesn't have time to get out of the way and breaks.
COMPLETE MATERIAL / PARTS LIST
|
